|
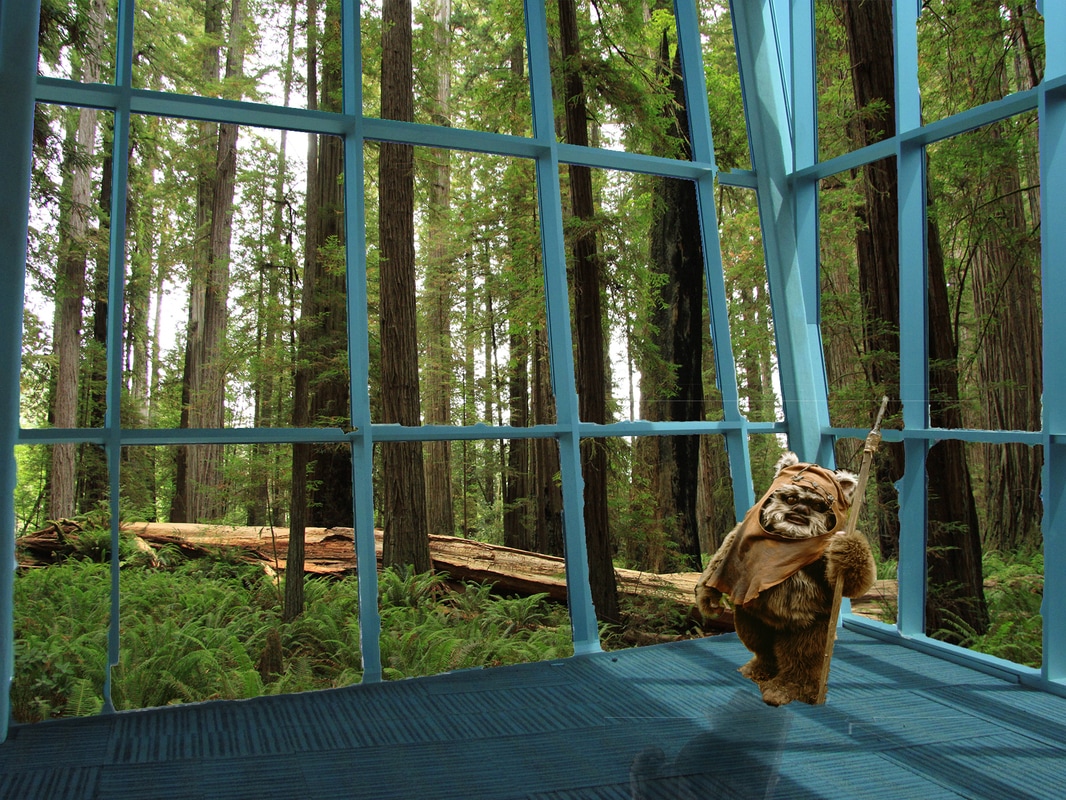
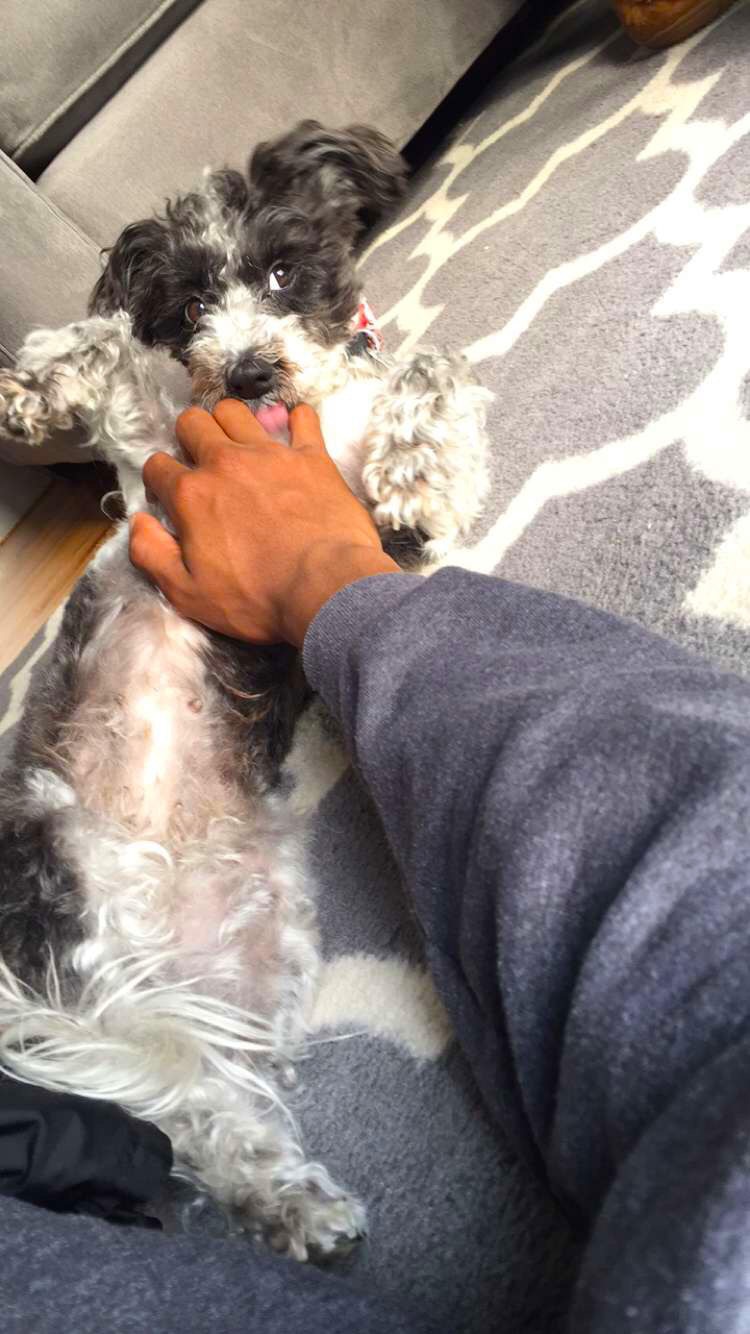
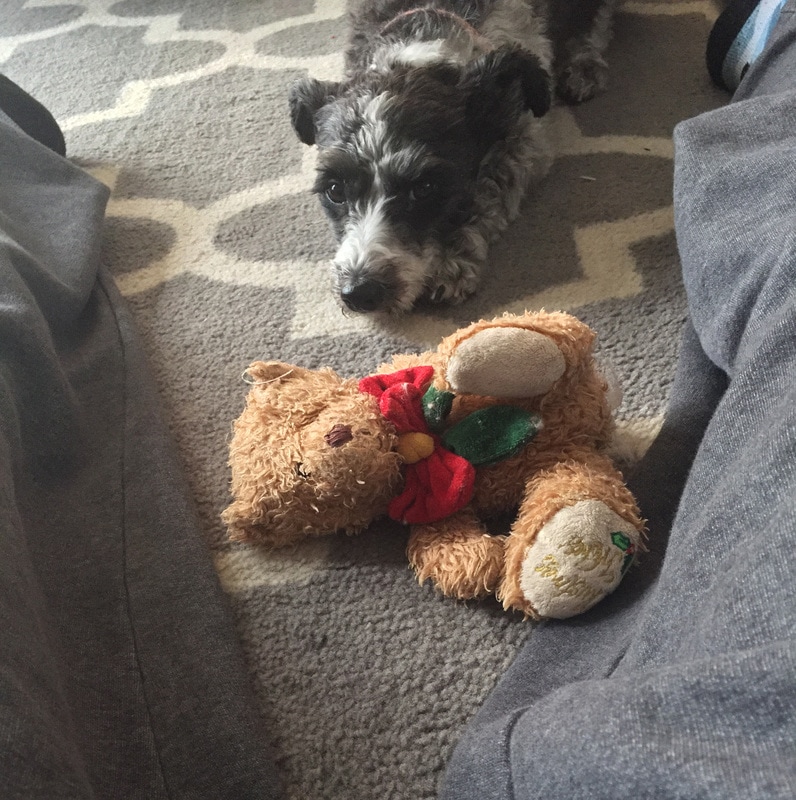
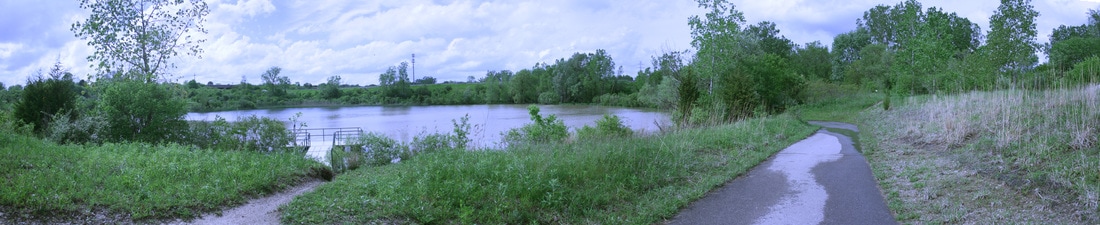
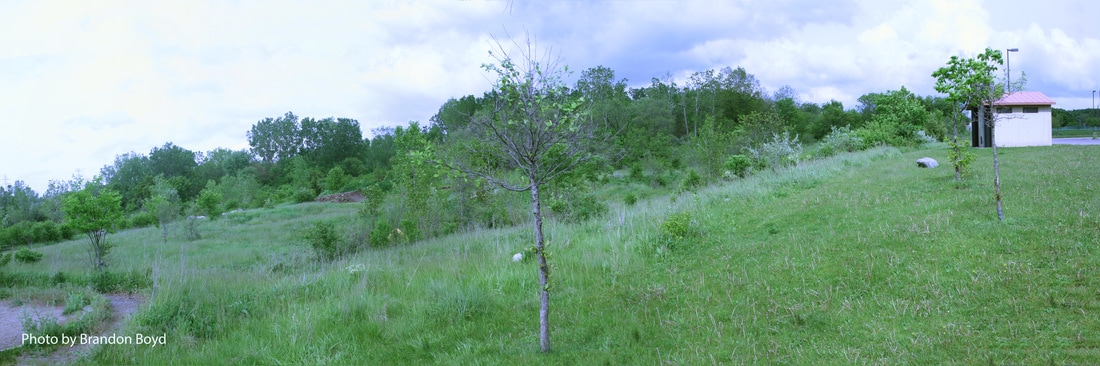
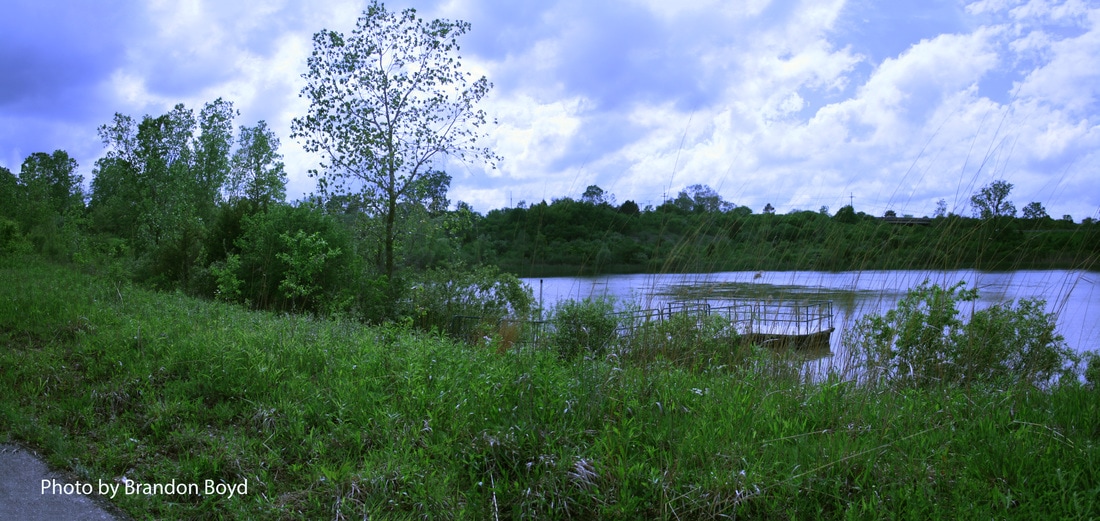
The first day I walked into class, I saw Nick and Jerry then knew it was going to be a loud class. Coming in to the class I was happy with it because I enjoy taking pictures, and a class of doing something I find fun would be perfect for the last hour of my last trimester. I had regular photography with Mr. Rodriguez first trimester, so I felt comfortable with all of the terminology the rest of the class was learning at the beginning. 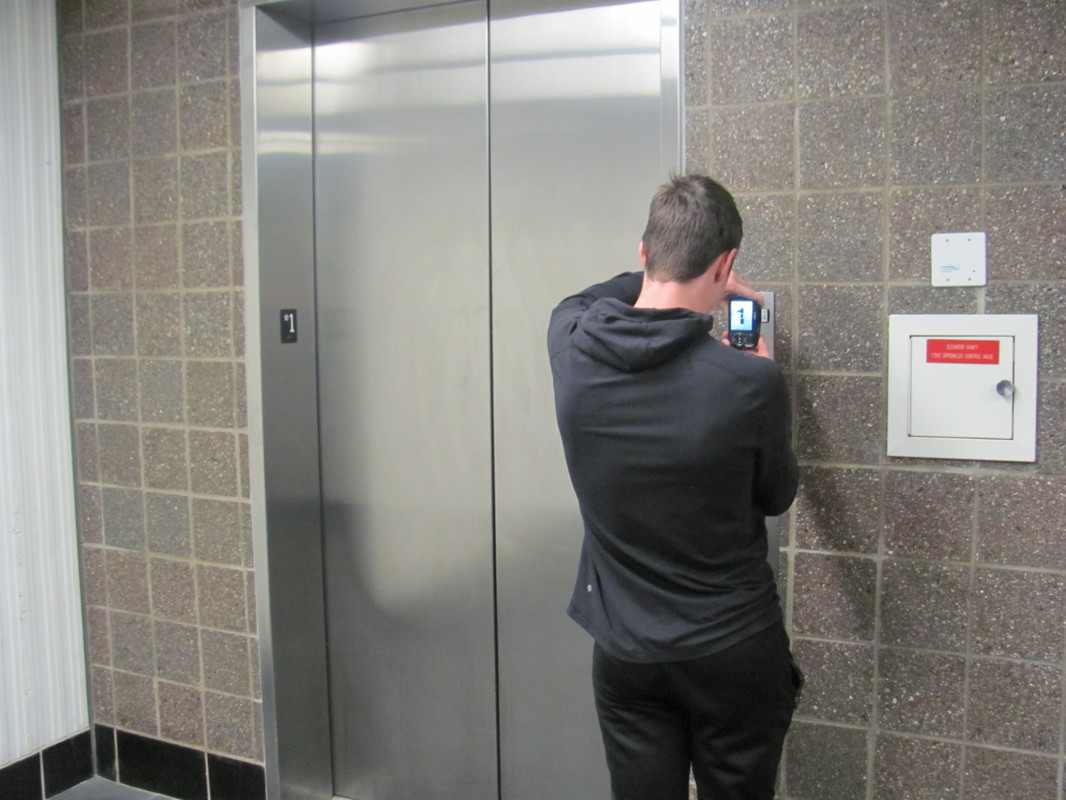 This picture is from the first time we took out cameras and took pictures. This is also one of the worst pictures I've ever seen in my life. I don't remember if I was actually trying to compose this shot and take a good picture, but for my sake lets hope not.  This picture is one of my better ones from this trimester. The difference between this one and my first one is drastic in its composition, lighting, technique, and style. Instead of using a point and shoot camera like I had in my first picture, I used one of the fancier cameras to get an even better image. This is also a panorama, which requires the camera to be in manual instead of auto. 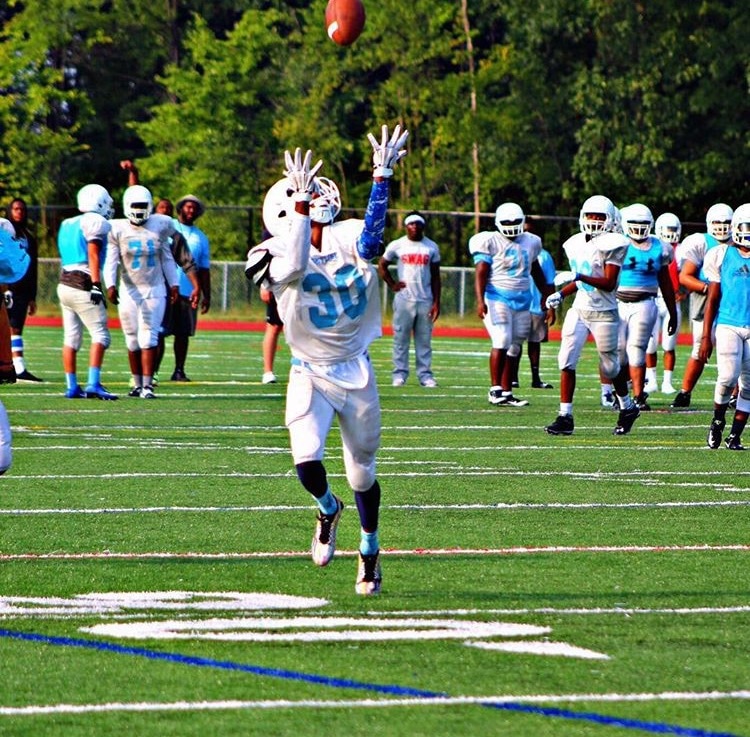 Before this class I had always had an interest in editing pictures, but I didn't know much about photoshop. The extent of my knowledge was how to use filters, which wasn't that much. Now I know how to actually use Photoshop closer to its full potential. I learned how to edit pictures better, mix pictures, take out and add color, etc. Although the class only taught the basics of Photoshop, it is a lot easier now to follow along with more advanced edits because I know the program better. The picture above is one of the first ones I'd ever edited, and the pictures below were from this trimester. 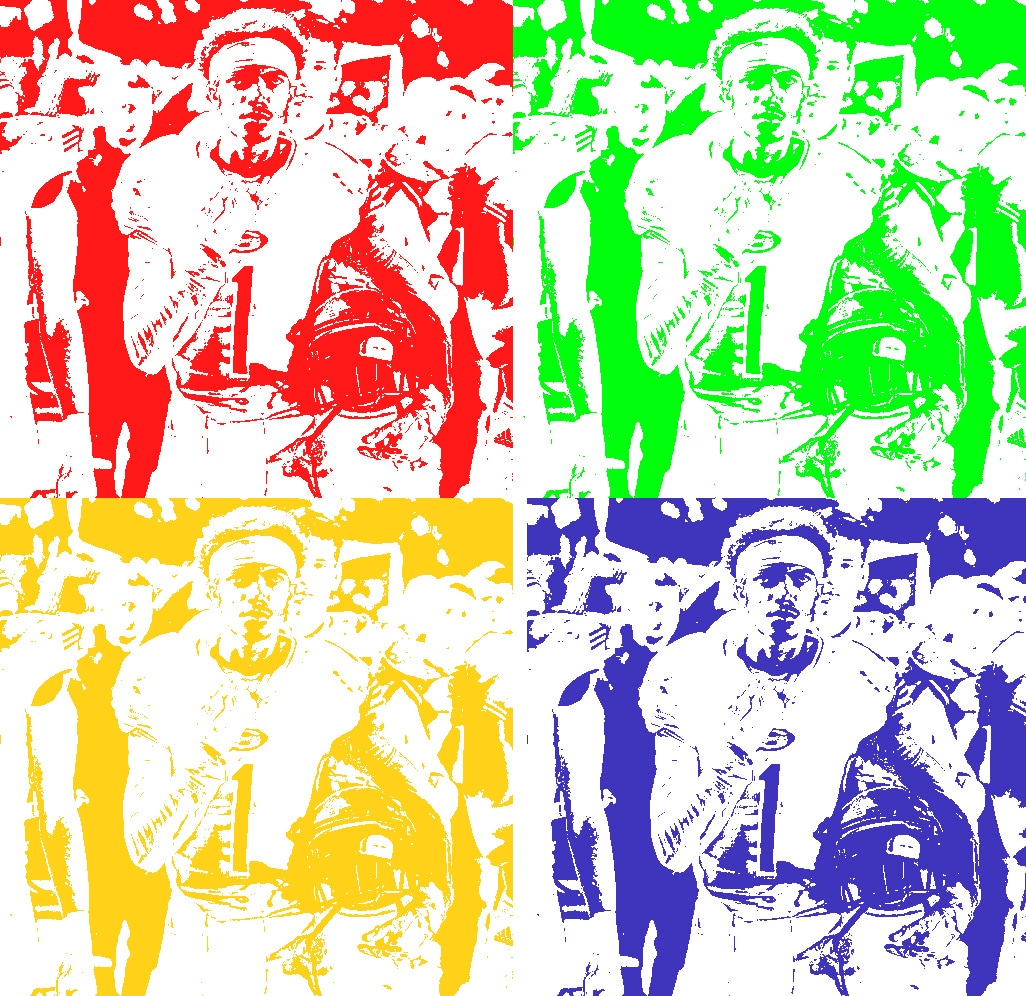 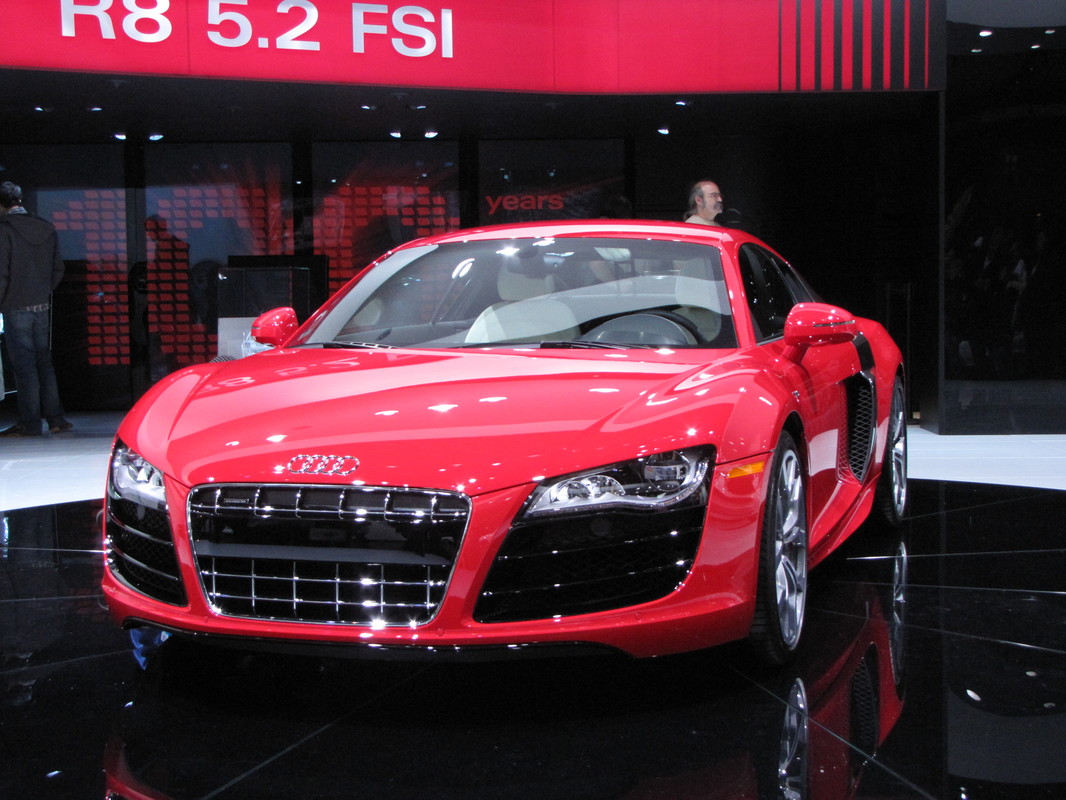 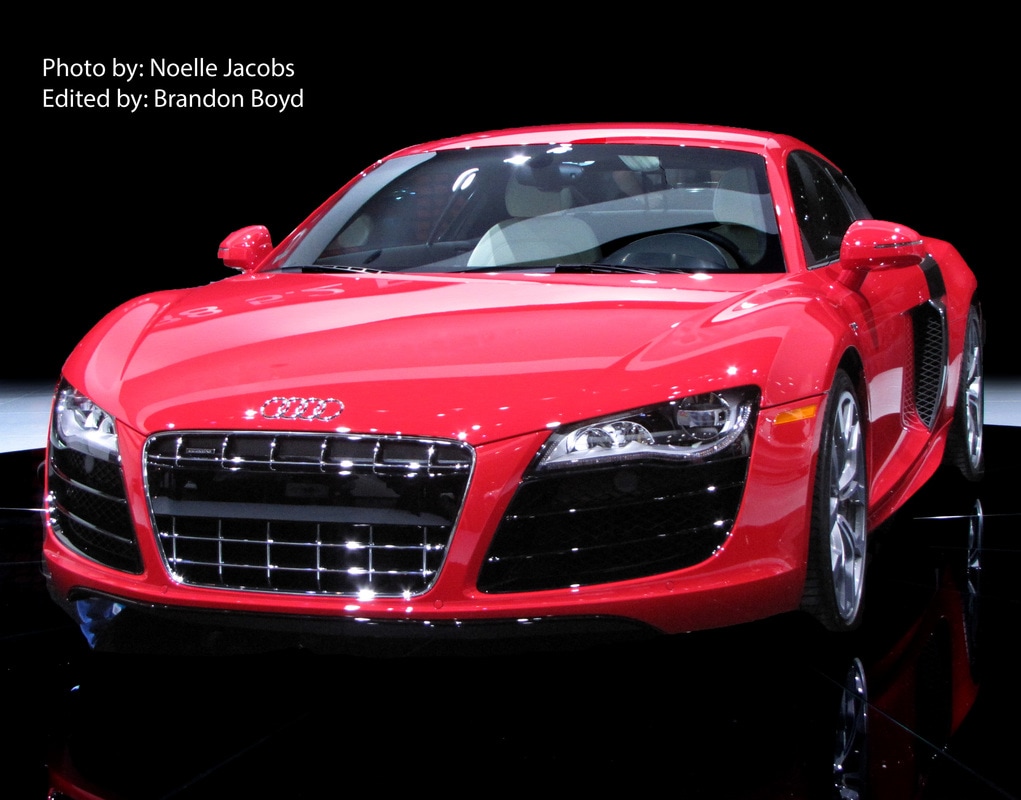 Today I feel like I've definitely improved my skills since the beginning of the trimester. I've learned how to better work the cameras to get a better exposure, which is the first step to having a good image. I've also learned how to compose a picture better, which makes it more visually appealing. Finally, I've learned how to use Photoshop better, so now my pictures can be edited to look good even if there was a mistake with the exposure, or just to add cooler looking effects to it.
0 Comments
  In this project I learned how to edit different colors, glares, tints, etc. using this car. I used the selection tool to select and paint over the background, the stamp tool to cover up glares on the hood of the car, and levels adjustment to tint the car color and windows.
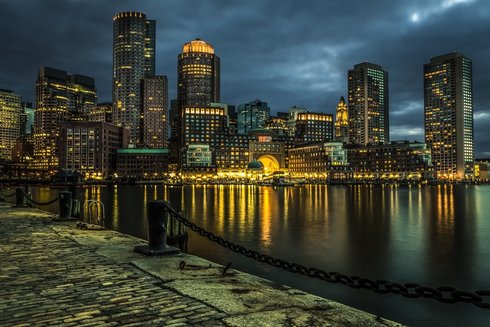
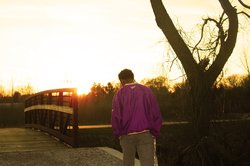 Shadows & Light- Photographs play and emphasize the contrast between light and shadows Aperture: 5.6 Shutter Speed: 1/200 ISO: 100 The only edits I made to the picture were upping the vibrance and adding some contrast 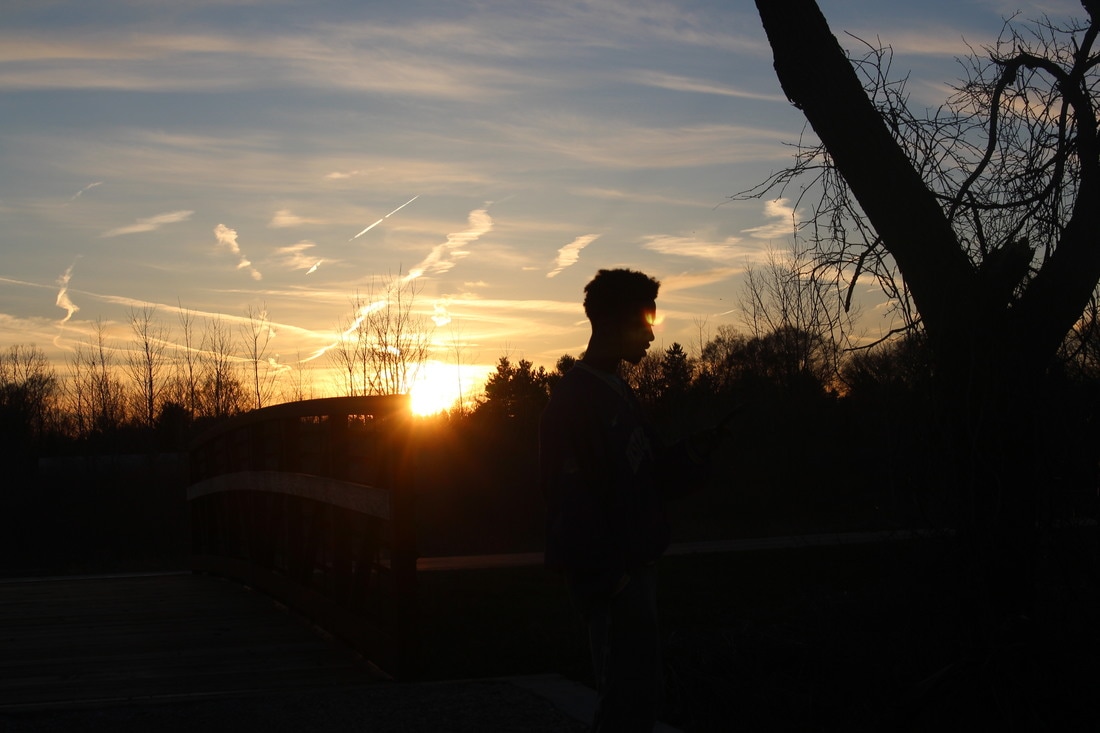 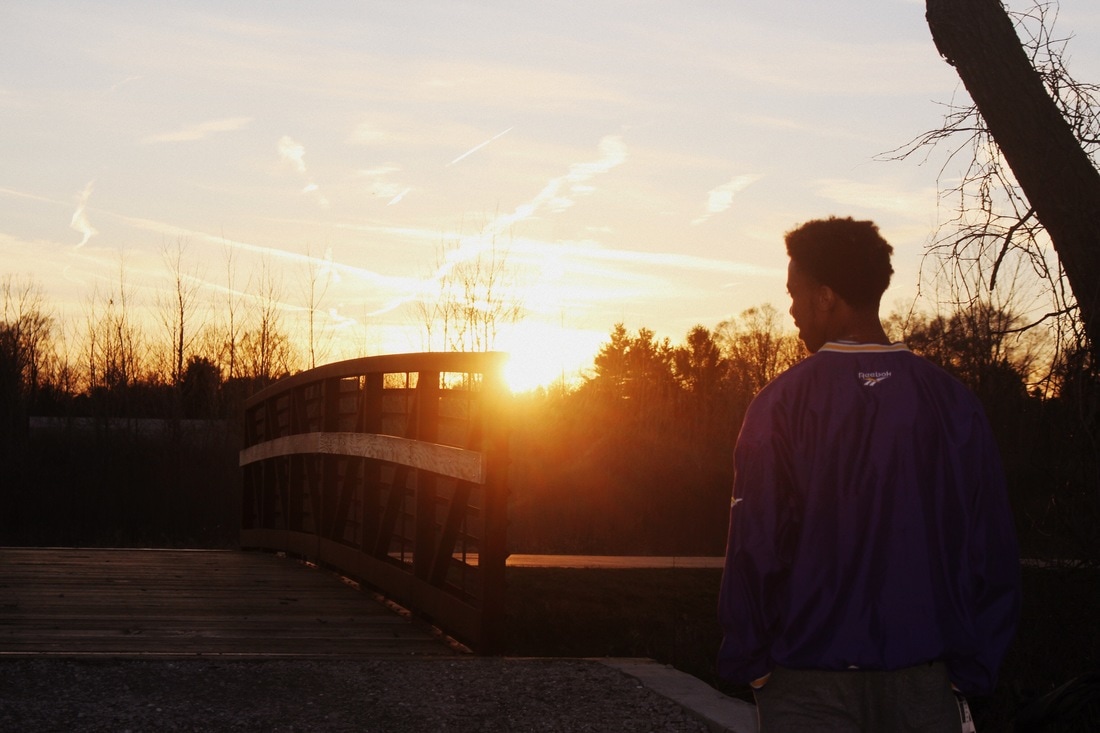  |
Brandon BoydWrite something about yourself. No need to be fancy, just an overview. ArchivesCategories |


 RSS Feed
